Welcome to the ultimate guide to creating the perfect Matilda Chocolate Cake. This iconic dessert, known for its rich fudginess and decadent chocolate, was popularized by the film Matilda. Here, we delve into not just how to make this dreamy cake, but also the best practices for decoration, serving, and storage. Whether you’re a baking novice or a seasoned pro, this article will equip you with everything you need to know to bake a cake that might just have Bruce Bogtrotter coming back for seconds!
Introduction to Matilda Chocolate Cake
Before diving into the mixing bowls, it’s crucial to understand why the Matilda Chocolate Cake has become such a celebrated part of dessert tables around the world. This cake is more than just a treat; it’s a piece of culinary art that promises to deliver not just on taste but also on the joy of baking.
What Makes Matilda Chocolate Cake Special?
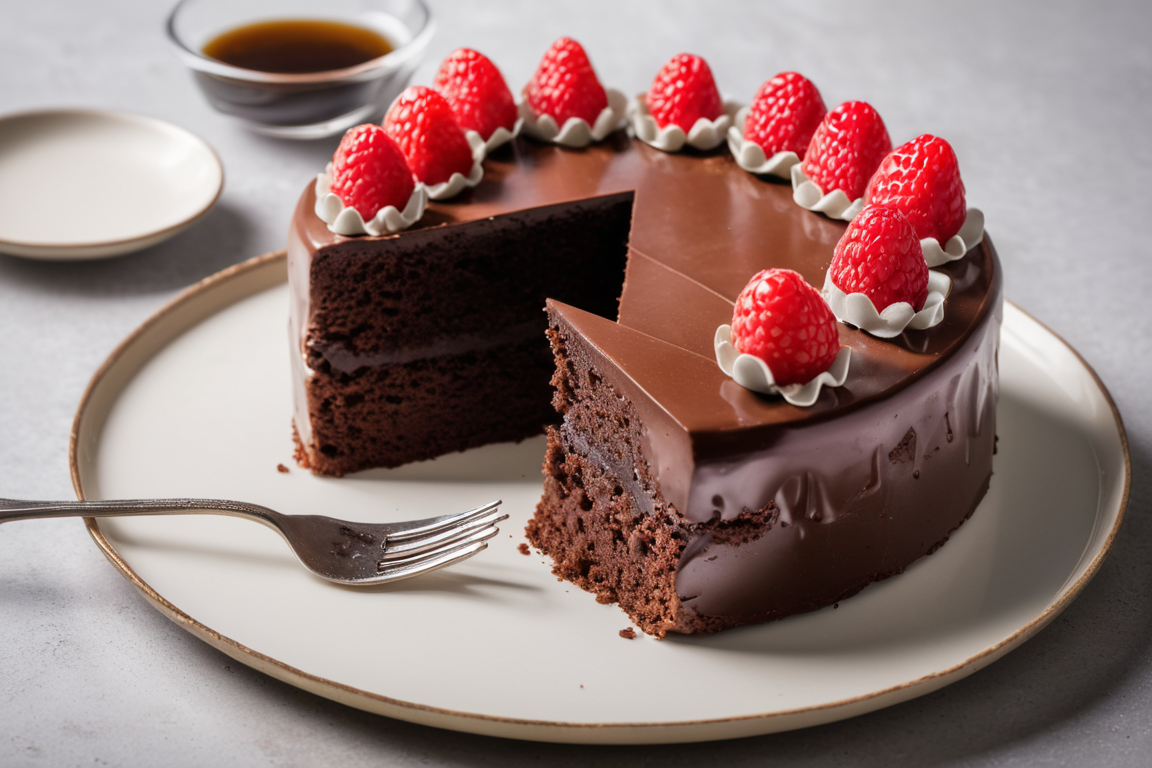
The Matilda Chocolate Cake stands out because of its moist texture and the rich chocolate layers that melt in your mouth. Ideal for celebrations, this cake encapsulates the spirit of the movie with its indulgence and delight in every bite. It’s not just about the ingredients but the memories it creates—perfect for birthdays, parties, or any special occasion that calls for something extraordinarily sweet.
Historical Roots of the Recipe
The origin of this cake can be traced back to the beloved film Matilda, where the protagonist is seen enjoying an enormous slice of chocolate cake. Over the years, this scene has inspired countless bakers to recreate their version of what is ideally a Moist Chocolate Cake Recipe, making it a popular choice worldwide. From homemade versions to bakery specials, the Matilda Chocolate Cake has become a symbol of chocolatey temptation and indulgence. To understand more about chocolate’s broader impact historically and culturally.
Now, let’s roll up our sleeves and get ready to create a chocolate masterpiece that would make any dessert lover swoon. In the next section, we’ll explore the essential ingredients and tools needed to bake this dream cake.
To learn more about how chocolate captured the world’s imagination and palate, enhancing its cultural and historical significance, read more about the cultural significance of chocolate here.
The Recipe Basics
Embarking on the journey to make the perfect Matilda Chocolate Cake starts with gathering all the right ingredients and ensuring you have the essential equipment. This foundation is not just important—it’s crucial to the success of your baking adventure.
Ingredients Necessary for Matilda Chocolate Cake
To whip up this decadent dessert, you’ll need several key ingredients that combine to create its iconic taste and texture. You will need:
- Cake flour for a soft texture,
- Sugar to sweeten,
- Unsweetened cocoa powder for that deep chocolate flavor,
- Baking soda and baking powder for leavening,
- Eggs to bind the mixture,
- Vegetable oil for moisture,
- Buttermilk to enrich the texture, and
- Real vanilla extract to enhance all the flavors.
Each component plays a pivotal role in ensuring the cake’s signature moistness and rich taste. Remember, choosing high-quality chocolate is essential to achieve the deep, luxurious flavor that makes this cake a standout.
Equipment Needed
Before you start mixing, make sure you have the following tools on hand:
- Mixing bowls and wooden spoons,
- Measuring cups and spoons for accuracy,
- A whisk or an electric mixer,
- Cake pans (typically 9-inch rounds),
- Parchment paper to line your pans, and
- A cooling rack.
Having the right equipment ready goes a long way in making your baking process smooth and enjoyable. Additionally, an oven thermometer can be a great asset to ensure your oven is at the correct temperature, which is crucial for baking the perfect cake.
Now that you have your ingredients and tools lined up, it’s time to dive into the baking process itself. Stay tuned as we go step-by-step through the preparation and baking in the next section, ensuring you create a Matilda Chocolate Cake that’s as delightful to look at as it is to eat.
Step-by-Step Baking Guide
With your ingredients and equipment ready, it’s time to dive into the heart of baking your Matilda Chocolate Cake. Follow these steps closely to ensure your cake turns out rich, moist, and utterly irresistible.
Preparation Steps
- Preheat your oven to the right temperature, usually around 350°F (175°C), which helps achieve that perfect bake.
- Prepare the cake pans: Line them with parchment paper, grease them well, and dust with cocoa powder to prevent sticking.
- Mix the dry ingredients: Sift together the cake flour, unsweetened cocoa powder, baking soda, and baking powder in a large bowl to avoid lumps and ensure a uniform texture.
- Combine the wet ingredients: In a separate bowl, whisk together the eggs, vegetable oil, buttermilk, and vanilla extract until well blended.
Baking the Cake
- Combine wet and dry ingredients: Add the wet ingredients to the dry mixture, stirring until just combined.
- Make sure to avoid excessive mixing, as it may result in a tougher texture for the cake.
- Pour the batter into the prepared pans, dividing evenly. The batter should be smooth and pourable.
- Place the prepared mixture in the oven that has been preheated and bake for approximately 30 to 35 minutes.
- . The cake is done when a toothpick inserted in the center comes out clean or with just a few crumbs attached.
- Cool the cakes in the pans for about 10 minutes before transferring them to a wire rack. This helps prevent them from breaking apart.
Taking your time to follow these steps will ensure that each layer of your cake has the perfect texture and moisture content, setting you up for a successful assembly and decoration.
Start the Frosting
While your cakes are baking and cooling, you can begin making the frosting—a critical component that adds richness and ties all the flavors together:
- Melt chocolate and butter in a saucepan over low heat, stirring until smooth and fully combined.
- Transfer to a mixing bowl, add powdered sugar, and beat until the frosting is fluffy and light. For an extra touch of luxury, a splash of cream can be added to achieve a silky consistency.
This homemade frosting will not only taste delicious but also give your Matilda Chocolate Cake a professional, polished look. Now that your cakes are baked and your frosting is whipped up, the next part will guide you through assembling and decorating your masterpiece.
Decorating and Serving Suggestions
Once your cakes have cooled and your frosting is ready, it’s time to assemble and decorate your Matilda Chocolate Cake. This part is where you can let your creativity shine and make your cake truly spectacular.
Decoration Tips
- Layer and frost: Begin by placing one cake layer on your serving plate.
- Apply a liberal layer of frosting on the top.
- . Add the second layer and repeat. If you’re using three layers, continue the process. Smooth the frosting on the top and around the sides.
- Smooth edges: Use a spatula to smooth out the frosting all around the cake. For a professional look, hold your spatula against the cake while rotating the plate.
- Add embellishments: Sprinkle chocolate shavings, dust with cocoa powder, or arrange edible flowers for a decorative touch. Techniques like piping, using modeling chocolate for figures, and edible ink printing can add sophistication and personalization to your cake (Wikipedia).
Serving Tips
- Cutting the cake: Use a sharp knife, dipped in hot water and wiped dry, to make clean cuts. This technique helps you get through the thick layers and frosting without pulling or tearing the cake.
- Presentation: Serve each slice on a plate with a dollop of whipped cream or a scoop of vanilla ice cream to complement the rich chocolate. Present the cake on a beautiful cake stand to elevate the overall look, making it a feast for the eyes as well as the palate.
By taking care in the decoration and serving of your cake, you ensure that it is not only delicious but also visually stunning, making it all the more enjoyable.
Next, we will look into the best practices for storing your cake, ensuring it stays fresh and delightful for every bite.
Storage Tips
Ensuring that your Matilda Chocolate Cake remains fresh and delicious over time requires proper storage techniques. Whether you’re saving leftovers or preparing the cake ahead of a big event, follow these tips to maintain its quality and flavor.
Short-term Storage
- Keep the cake at room temperature for a maximum of two days.
- Keep it under a cake dome or covered with a large bowl to protect it from air exposure, which can dry out the cake.
- Refrigerate: If your cake has frosting that might melt or spoil (like cream cheese or whipped cream), it’s best to refrigerate it. Place it in an airtight container or cover it with plastic wrap to avoid absorbing any odors from the fridge. Your cake can stay fresh in the refrigerator for up to four days.
Freezing and Long-term Storage
- Freeze Unfrosted Cake Layers: If you plan to keep the cake longer, you can freeze the unfrosted cake layers. Wrap each layer individually in plastic wrap and then aluminum foil to protect against freezer burn. They can be stored like this for up to three months.
- Thawing: When ready to use, thaw the layers in the refrigerator overnight before frosting and serving. This gradual thawing helps maintain the moisture and texture of the cake.
By following these storage tips, you can enjoy your Matilda Chocolate Cake at its best, even days after it has been made. Not only does this make your baking efforts more efficient, but it also ensures that every slice is as good as the first.
Now that you know how to bake, decorate, serve, and store your cake, let’s explore some additional tips and tricks in the next section to help troubleshoot common baking issues and perfect your baking skills.
Nutritional Information and Allergen Advice
Whether you’re baking for a special event or just indulging at home, it’s helpful to understand the nutritional content of your Matilda Chocolate Cake and how to adapt it for various dietary needs. This knowledge ensures everyone can enjoy a slice without worry.
Nutritional Breakdown
Matilda Chocolate Cake is a rich dessert, and as such, it’s packed with calories, sugars, and fats. A typical slice contains:
- Calories: This can vary, but a slice generally has a significant amount, given the sugar, flour, and chocolate used.
- Fats: Essential for the moist texture, but it’s wise to consume in moderation.
- Carbohydrates: Predominantly from sugar and flour, which provide the cake’s structure and sweet taste.
Understanding these aspects can help you balance your diet or make informed decisions about portion sizes.
Allergen and Dietary Substitutions
To make Matilda Chocolate Cake more accessible to those with dietary restrictions, consider these substitutions:
- Gluten-Free: Replace the flour with a gluten-free blend that mimics the properties of wheat flour.
- Dairy-Free: Use dairy-free chocolate and substitute milk and butter with suitable plant-based alternatives.
- Vegan: Employ vegan substitutes like flax eggs, plant-based milk, and vegan butter. For a deeper exploration of vegan baking, consider resources that detail ingredient swaps and techniques.
By incorporating these changes, you can create a cake that is not only delicious but also inclusive, allowing more guests to enjoy this delectable treat without dietary concerns.
In the following section, we’ll look into common mistakes and troubleshooting tips to help ensure your baking success every time.
Common Mistakes and Troubleshooting
Even the most seasoned bakers face occasional challenges. Understanding common baking problems and knowing how to fix them can save your Matilda Chocolate Cake from becoming a baking blunder.
Troubleshooting Common Issues
- Cake is too dry: This often happens if the cake is overbaked or if there’s too little fat or liquid in the batter. Make sure to measure your ingredients accurately and check your oven temperature with an oven thermometer. If the cake still turns out dry, consider adding a bit more oil or buttermilk to your batter.
- Cake didn’t rise: This can be due to old leavening agents, like baking soda or baking powder. Always check the expiration date on these products before using them. Additionally, ensure you’re not mixing the batter too vigorously, as this can deflate the air bubbles that help the cake rise.
- Frosting is too runny or too stiff: Temperature plays a crucial role in frosting consistency. If it’s too runny, chill it in the fridge for a bit before re-whipping. If it’s too stiff, gradually add a little milk or cream until you reach the desired consistency.
These tips not only help fix immediate problems but also improve your overall baking technique, making each subsequent baking session more successful.
By mastering these troubleshooting tips, you’ll be well-equipped to handle any challenges that come your way in the kitchen, ensuring your Matilda Chocolate Cake turns out perfectly every time. Now, with all the knowledge and tips shared, you’re ready to bake, decorate, and enjoy this wonderful cake, confident in your ability to create a delicious masterpiece that will delight anyone who tastes it.
FAQs
What ingredients are used to make the chocolate cake featured in Matilda?
The chocolate cake in Matilda is famously rich and dense, primarily made of ingredients such as sugar, flour, cocoa powder, and eggs. This combination ensures a moist texture that’s topped with a thick, fudgy frosting, embodying a truly decadent chocolate experience.
What is special about Matilda Cake?
Matilda Cake is special not just for its delicious taste but also for its cultural significance. It became iconic through its role in the film Matilda, where the cake is part of a memorable scene. This has made it a symbol of indulgence and triumph in popular culture, celebrated for its extraordinarily rich and chocolatey layers.
Who was the boy who ate the chocolate cake in Matilda?
The boy who ate the chocolate cake in Matilda is Bruce Bogtrotter. In a memorable scene from both the book by Roald Dahl and the film adaptation, Bruce is forced to eat a whole chocolate cake as a punishment, turning what is meant to be a humiliating ordeal into a moment of victory against the tyrannical headmistress, Miss Trunchbull.
How much is the Matilda cake in Dubai?
The price of Matilda Cake in Dubai can vary depending on the bakery and the specifics of the cake’s design and size. Generally, specialty cakes in Dubai can range from moderately expensive to quite luxurious, reflecting the city’s diverse and upscale culinary market. For exact pricing, it’s best to consult local bakeries or confectionery stores that offer custom cake services.
Discover a wide array of recipes that spark your enthusiasm for cooking and fulfill your culinary desires. Our platform caters to individuals of all skill levels, from experienced chefs to beginners in the kitchen. Whether you’re in search of simple weekday dishes or lavish weekend spreads, we’ve got something for everyone. Return to rediscover your passion for cooking with us!